1. What is Toggle and Toggle Group
Before creating inventory, I introduce about Toggle. We can roughly understand that it is a switch, with 2 states: on and off. And the Toggle Group represents a group of Toggle, only one member of Toggle group can be active at the time.
Then, with codes you can "Select the item" or "Switch the tab view", which I will guide in other topics
2. Creating Tabs
- Step 1: Create the empty object call "Tabs" and add "Grid Layout Group" and "Toggle Group" into it:
- Step 2: As we prepare the Tabs in the [P1] Inventory System, we create as the children of the "Tabs" and add Component "Toggle" in them. Then we drag "Selected" object to "Graphic" inside the "Toggle" and drag the "Tabs" we recently created to the "Groups" inside the "Toggle". Finally, we copy, rename and change the image of these tabs:
- Step 3: Adjust the size and spacing of the Grid Layout Group to get it:
3. Creating Inventory
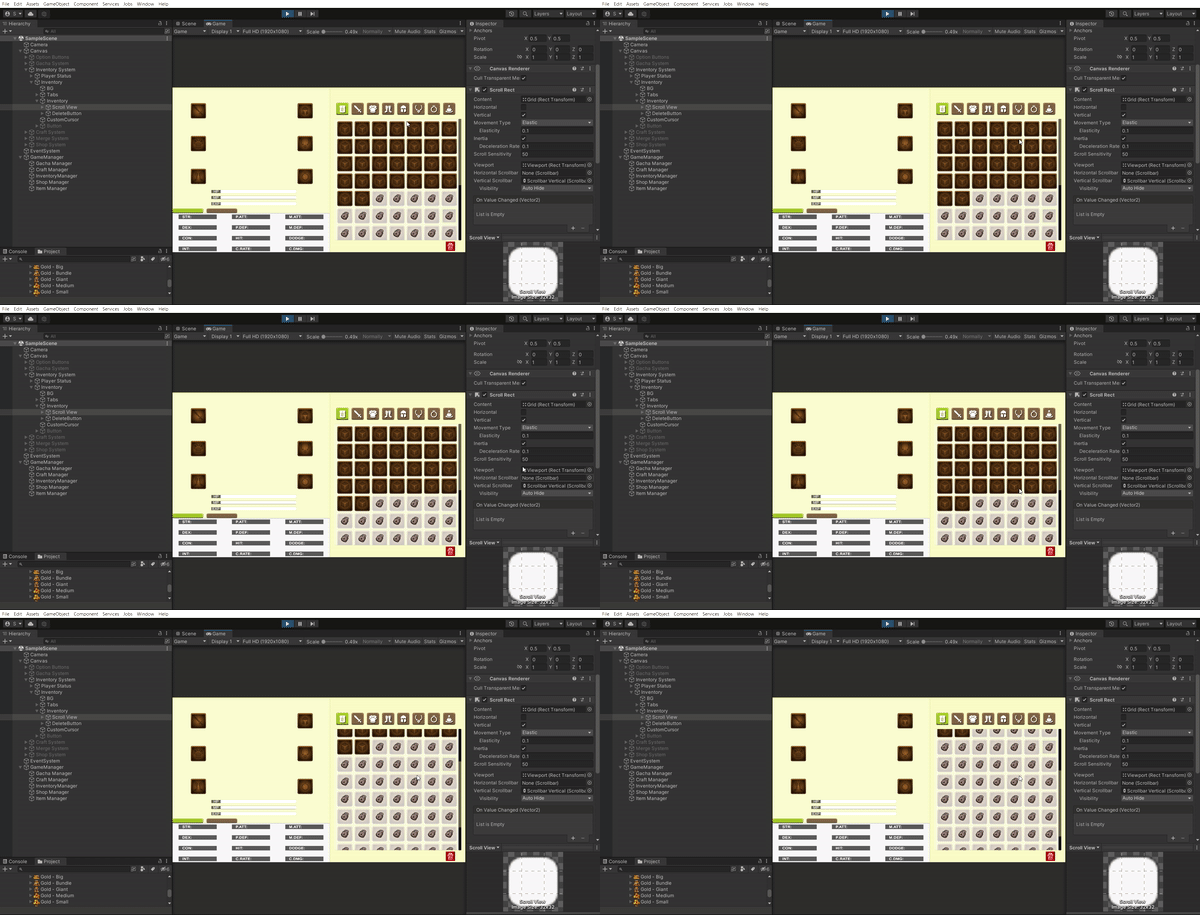
- Step 1: Create the UI Scroll to create the Inventory that can scroll up and down. There are several features in this Component:
a, Horizontal and Vertical:
b, Movement Type:
- Unrestricted: You can scroll to past the boundaries of the scroll view without moving back to the first (or last) boundaries of the scroll view
- Elastic: It will automatically move back to the first (or last) boundaries of the scroll view when a user tries to scroll past the boundaries of the scroll view. It will move back faster when figure for elastic is approaching to 0
.gif) |
| Elastic: 2 |
- Clamped: User cannot scroll pas the boundaries of the scroll view
c, Inertia:
If you check on Inertia, "Deceleration Rate" and "Scroll Sensitivity" will appear:
- Deceleration Rate: If you increase the deceleration rate more than 1, it will fall down faster. However, the more it approaches 0, the more speed will decrease at the end.
 |
| Deceleration Rate: 0.1 |
 |
| Deceleration Rate: 10 |
- Scroll Sensitivity: It can be considered as the force you apply when scrolling.
- Step 2: Inside the Grid Object, the children of Scroll View. We add "Grid Layout Group" and "Constraint Size Filter" - this one allows you to expand the size of the Inventory
- Step 3: Create the "InventoryManager" script and instantiate 2 Prefabs we had already prepared: "SlotFree" and "SlotLocked". At the same time, we add them into a List (the Dictionary would be better) to manage them
That's the end of the section. If you have any question, ask me in the comment box below
GitHub:
Please note that only frames and background you can use in commercial project. The items assets are only used for practicing.


Comments
Post a Comment